Template Overview
The Template area is used to manage email layouts and create new templates with the built-in visual editor.

What You Manage Here
- Saved template records
- Template labels
- Template usage state
- New email template creation
Template List Interface
Visible controls in the screenshot:
- Left filter sidebar
Create TemplateManage Labels- Settings and refresh icons
- Template table and pagination
Filters
The left sidebar supports:
Template IDTitleLabelCreated DateLast ModifiedArchived
Template Table Columns
| Column | Meaning |
|---|---|
| Template ID | Unique template identifier |
| Title | Template title |
| Label | Internal label tag area |
| Type | Communication type, shown as Email |
| State | Usage state, such as Used |
| Created By | Creator of the template |
Step-by-Step: Find a Template
- Open
Template. - Use filters to narrow the list.
- Review title, label, and state.
- Confirm the correct template before using it in campaigns.
Create an Email Template
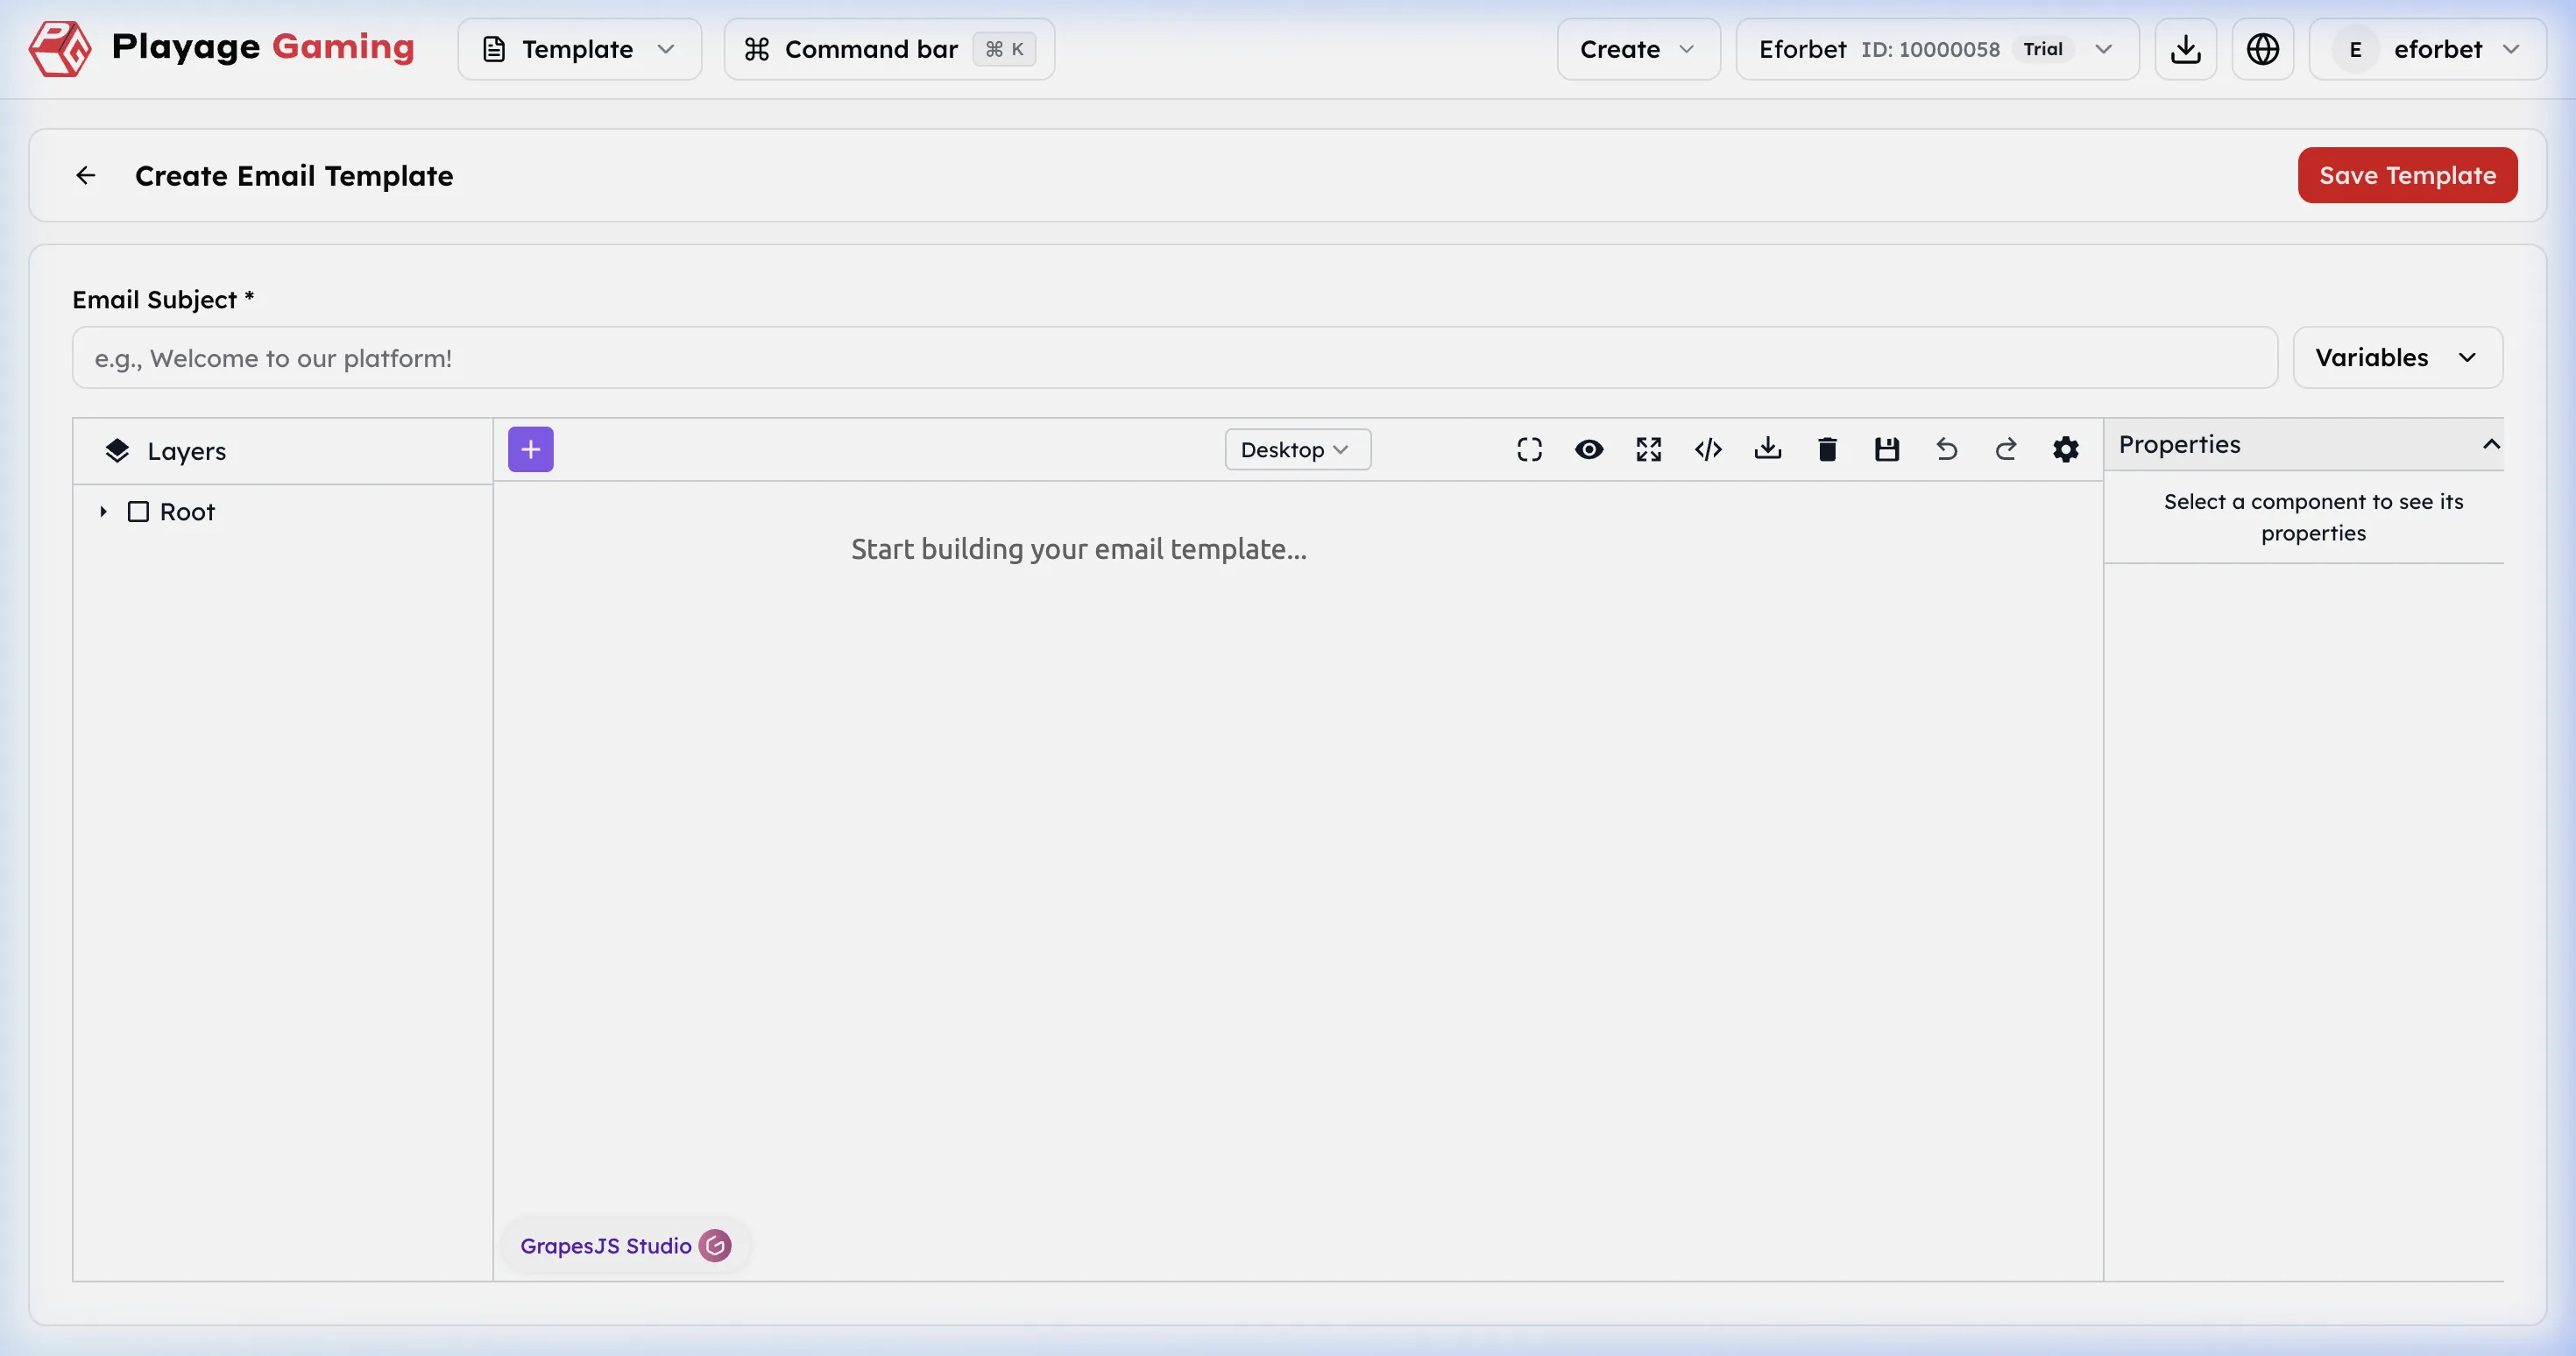
Editor Areas
| Area | Meaning |
|---|---|
| Email Subject | Required subject line field |
| Variables | Inserts dynamic placeholders |
| Layers panel | Shows structure of the current design |
| Canvas | Main visual editing area |
| Top toolbar | View mode, preview, code, import/export, undo/redo, and other editor controls |
| Properties panel | Component-level settings for the selected block |
| Save Template | Saves the finished template |
Step-by-Step: Create a Template
- Open
Template. - Click
Create Template. - Enter the
Email Subject. - Insert variables if personalization is required.
- Build the layout inside the canvas.
- Use the desktop preview and editor controls as needed.
- Adjust the selected block from the
Propertiespanel. - Click
Save Template.
Operating Notes
- Keep template names clear so campaign users can identify the correct layout quickly.
- Use variables only when the downstream campaign or delivery flow supports them.
- Re-check template state before using it in a live campaign.